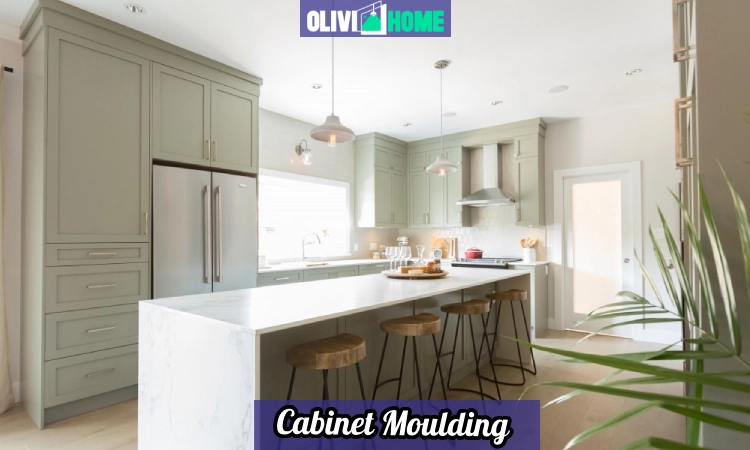
Cabinet moulding is a game-changer in home design. Whether you’re revamping your kitchen or simply adding a touch of elegance, moulding transforms ordinary cabinets into stunning focal points. This guide explores everything you need to know about cabinet moulding, from its types and benefits to installation tips and design inspirations.
What Is Cabinet Moulding?
Cabinet moulding, also spelled “molding,” is a decorative trim used to enhance the appearance of cabinetry. These narrow strips of wood or other materials are applied to the edges, tops, or bottoms of cabinets to create a polished, custom look. Mouldings can bridge gaps between cabinets and ceilings, conceal under-cabinet lighting, or simply add visual interest.
Historically, crown moulding was a symbol of wealth, with intricate designs adorning the homes of the affluent. Today, it remains a high-end design element but is accessible to anyone looking to elevate their space.
Types of Cabinet Moulding
Cabinet mouldings come in various styles, each serving unique aesthetic and functional purposes. Here are some popular types:
1. Crown Moulding
Crown moulding sits atop cabinets, creating a seamless transition between cabinetry and ceiling. It adds height and elegance, making your kitchen feel more spacious.
2. Light Rail Moulding
This is installed beneath upper cabinets to hide under-cabinet lighting. It not only improves functionality but also softens the room’s ambiance.
3. Baseboard Moulding
Located at the bottom of base cabinets, this type gives cabinets a furniture-like appearance while protecting them from scuffs and wear.
4. Scribe Moulding
Scribe moulding covers gaps between cabinets and uneven walls for a clean finish. It’s especially useful in older homes with imperfect surfaces.
5. Corner Moulding
Used at cabinet corners or edges, this moulding hides raw edges and adds a decorative touch.
Why Add Cabinet Moulding?
Cabinet moulding offers more than just aesthetic appeal—it’s also practical. Here’s why you should consider it:
- Enhanced Visual Appeal: Mouldings add depth and detail, turning basic cabinets into statement pieces.
- Increased Home Value: A well-designed kitchen with custom touches like moulding can boost property value.
- Functional Benefits: From hiding lighting fixtures to covering gaps, mouldings improve both form and function.
- Customizable Style: With countless designs available, you can match mouldings to any décor—from modern minimalism to classic elegance.
Choosing the Right Material
Selecting the right material for your cabinet moulding depends on your budget, style preferences, and kitchen conditions:
- Wood: A traditional choice that’s durable and versatile but may require more maintenance in humid environments.
- MDF (Medium-Density Fiberboard): Budget-friendly and easy to paint but less durable than wood.
- Polyurethane: Lightweight and moisture-resistant, making it ideal for kitchens with high humidity.
- PVC: Highly water-resistant and low-maintenance but less visually appealing than wood or MDF.
Design Inspirations for Every Style
Cabinet mouldings can complement any design style. Here are some ideas:
- Classic Elegance: Opt for ornate crown mouldings with floral or Greek-inspired patterns to achieve timeless sophistication.
- Modern Minimalism: Choose sleek, flat profiles with clean lines for a contemporary look.
- Rustic Charm: Use distressed wood or hand-carved designs for a cozy farmhouse vibe.
- Bold Contrasts: Pair dark cabinets with white or light-colored mouldings for striking visual contrast.
Installation Tips: DIY or Professional?
Installing cabinet moulding is easier than you might think but requires precision for professional results.
Tools You’ll Need:
- Miter saw for precise cuts
- Nail gun or brad nailer
- Measuring tape
- Adhesive (optional for extra hold)
Steps:
- Measure the area where the moulding will be installed.
- Cut the moulding pieces at 45-degree angles for corners.
- Attach filler wood if needed as a base for nailing.
- Secure the moulding using nails or adhesive.
- Fill gaps with caulk and paint or stain as desired.
While DIY installation is feasible for simple designs, intricate patterns like stacked crown moulding may require professional expertise
Cost Considerations
The cost of cabinet moulding varies based on material, design complexity, and installation method:
- Materials: Basic MDF costs $2–$6 per linear foot, while premium hardwoods can range from $8–$20 per linear foot.
- Labor: Professional installation typically costs $4–$8 per linear foot.
- Total Budget: Expect to spend anywhere from $200 to $2,000 depending on your kitchen size and design choices.
Real-Life Examples
Imagine transforming an outdated kitchen into a modern masterpiece by simply adding crown moulding. One homeowner paired sleek white cabinets with contrasting black crown mouldings for a bold yet elegant look. Another layered multiple types—baseboard, decorative trim, and crown—for a luxurious finish that mimicked custom cabinetry.
Final Thoughts: Is Cabinet Moulding Worth It?
Absolutely! Cabinet mouldings are an affordable way to add character and value to your home without undergoing major renovations. Whether you prefer subtle accents or dramatic designs, there’s a style that fits your vision.
Ready to elevate your kitchen? Start exploring cabinet mouldings today—you’ll be amazed at how this small detail can make such a big impact!

