Table of Contents
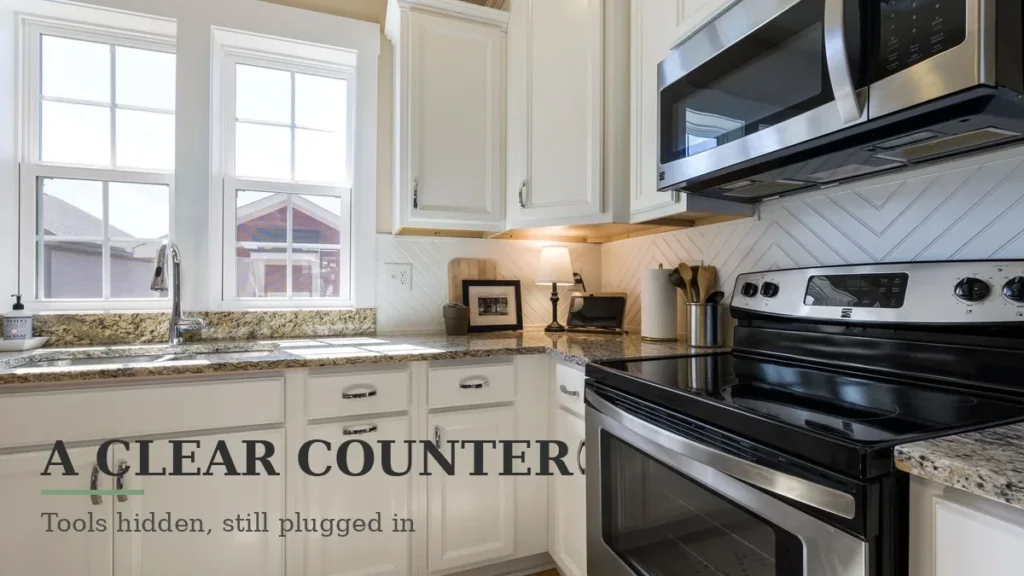
An appliance garage is a cabinet pocket that hides small appliances behind a door while keeping them plugged in and ready to use. These appliance garage ideas cover five garage types, door styles, outlet placement and measuring tips, so you can clear your kitchen counters without moving appliances in and out of storage.
Wire that pocket first, so daily tools stay plugged in and close at hand.
It is a shallow cabinet pocket on the counter, behind a door. Inside it, my coffee maker, toaster, blender and mixer wait with their cords already plugged in.
Close the door and the counter reads clean. Open it and breakfast starts without lifting a thing.
This guide stays on one job: a garage that fits your kitchen, your tools and your habits. For walls, doors and corners too, see our small kitchen storage ideas. It never turns into a full remodel plan.
Key takeaways
- Before buying anything, measure the tallest tool.
- What the space in front allows should pick the door.
- Once an outlet lives inside, tools stay plugged in.
- Each tool gets a home beside the job it serves.
- Heat makers run with doors open.
Appliance Garage Ideas at a Glance
| Type | Job | Rule |
|---|---|---|
| Countertop garage | Daily tools at hand | Size it to the tallest tool |
| Corner garage | Wasted corner, put to work | Door with zero swing |
| Tall cabinet garage | Coffee and baking kit | One tool per shelf |
| Pull-out shelf garage | Heavy mixer, no lifting | Strong slides only |
| Freestanding hutch | Renters, fast fixes | Watch the depth |
Measure First: Height, Depth and Width
Most appliance garage ideas fail here, at the tape measure. Buy nothing until you measure. Height comes from the tallest tool.
Width comes from the widest pair. Depth comes from the deepest tool.
Countertop garages usually run 18 to 36 inches wide. That width fits three small tools side by side in my kitchen.
I found 20 to 22 inches inside a standard 24 inch base. There, my stand mixer sits with room to spare, and a drip coffee maker would too.
Height comes from the counter-to-upper gap. In my kitchen, that gap is 18 inches.
After frame and track, I get 15 to 17 inches clear. With the lid open, I measure the tallest tool, then add 2 inches clearance.
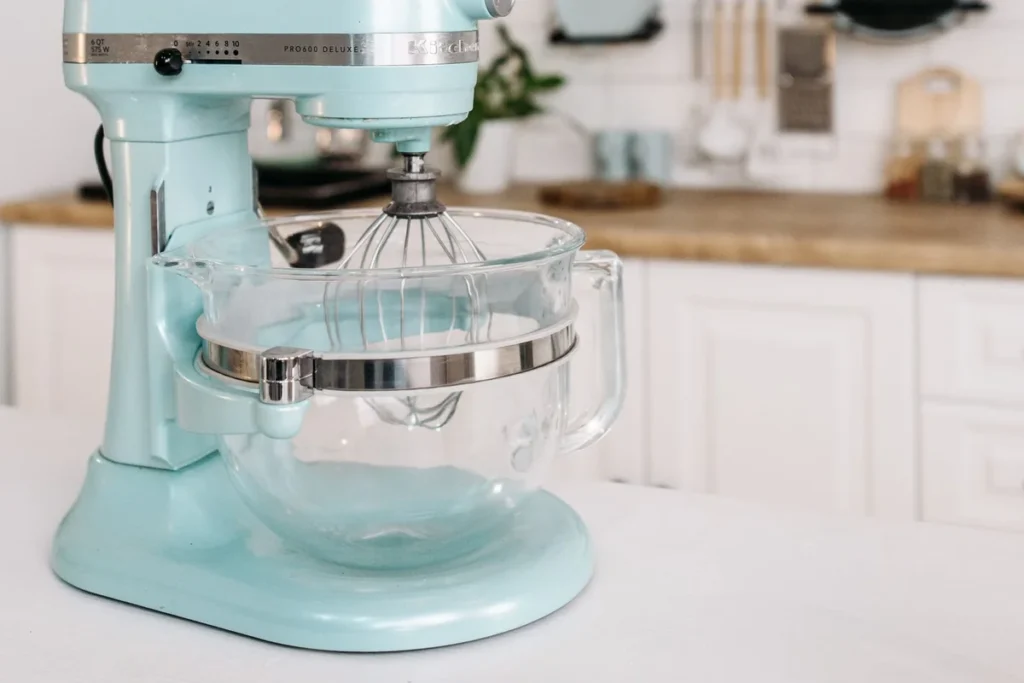
A full size stand mixer shows why this step matters. GE lists its Profile smart mixer at 17.07 inches tall and 44 pounds.
That height eats almost the whole gap under standard uppers. A tall garage, a pull-out shelf or a spot without uppers above solves it.
- List every tool that will live inside, tallest first.
- Measure height with lids open and handles up.
- Check width for doors and cords.
- Tape its footprint on the counter.
- Open and shut the door in that outline.
Doors That Fit the Spot
A wrong door turns handy into annoying. A door that swings into a walkway gets left open.
One that hits your head gets hated. Pick by front space first, looks second.
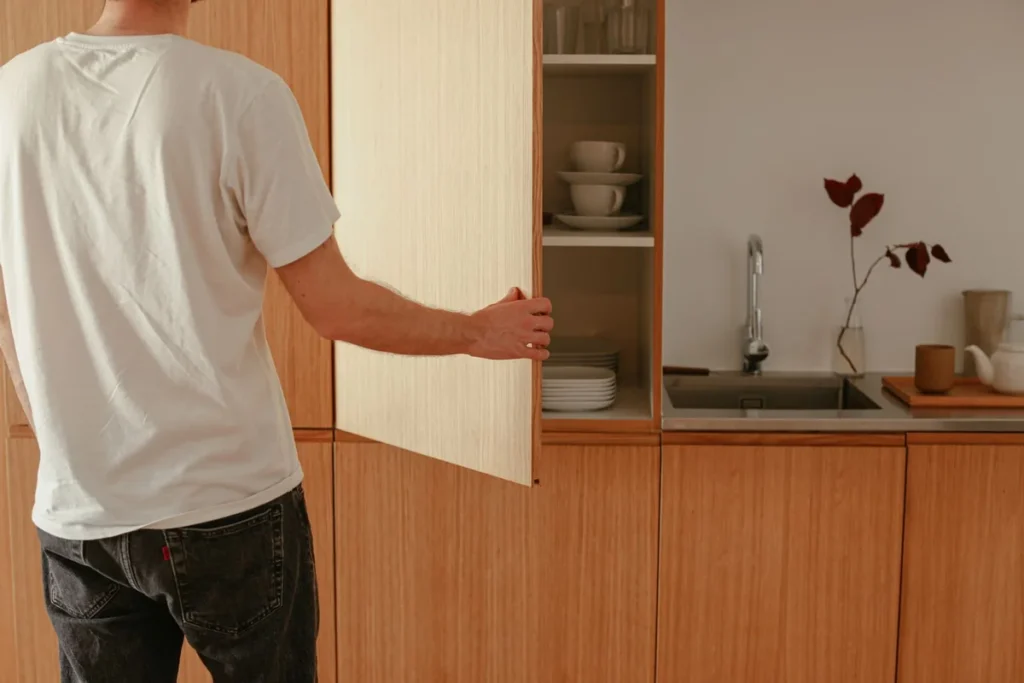
- Tambour: slats rolling up into the frame. Because nothing swings out, a cook in a narrow galley never has to step back to open it.
- Lift-up: a flap that a cook lifts on gas pistons until it rests overhead. One lift opens it all. Check headroom and uppers first.
- Pocket: panels sliding into the sides. Nothing juts into the walkway. They cost more and need side room inside.
- Bi-fold: two panels folding flat to the sides. Suits corners and wide openings, with folding room at the sides.
- Hinged: cabinet doors matching the run. They cost least, look built in, and need full swing room in front.
- Open: a framed niche, no door. Pretty tools shine, dust stays visible too.
HGTV’s small kitchen appliance storage guide makes the same point about doors. It pairs a plain cabinet door or a roll-up breadbox opening with outlets inside.
That pairing is the whole trick: hidden tools that still work. Good appliance garage ideas start with the door, not the decor.
Power and Heat Without the Mess
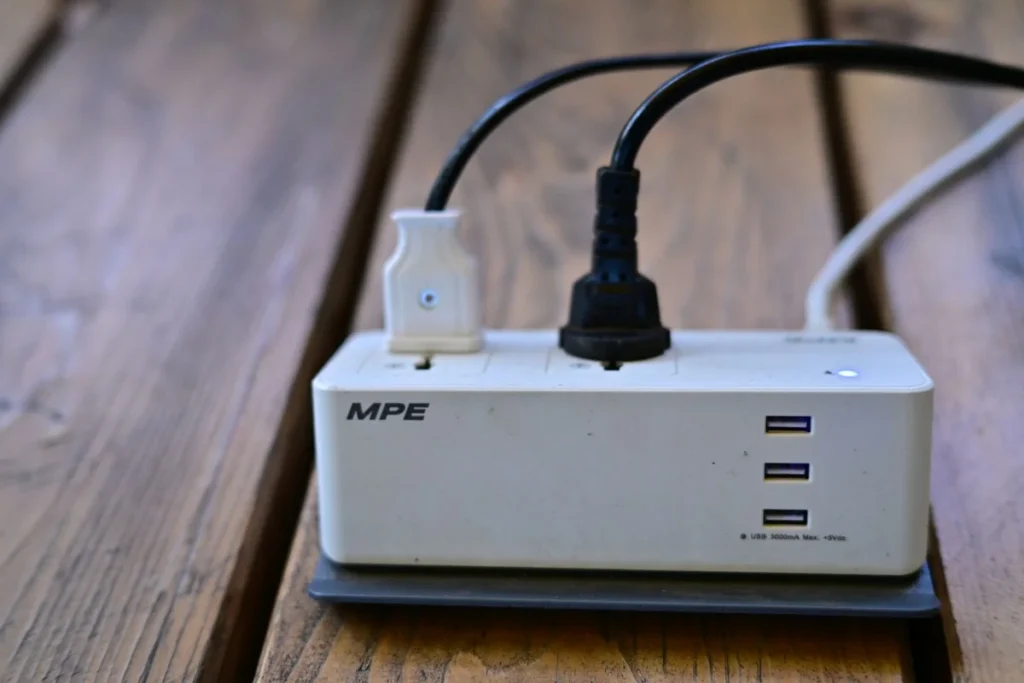
No power inside, and the garage is a cupboard in disguise. Leave a tool unplugged, and Sunday breakfast will find it back on the counter. I put the outlet first, and the cabinet second, every time.
Bring in a licensed electrician to fit that outlet inside the cabinet. Each cord takes its own short route off the countertop.
A small grommet in the back panel hides the wire tangle. Before drilling, check what your local code allows.
Heat asks for a different approach here. A toaster or air fryer throws off surprising heat in a closed box.
So leave the door swung open for the whole run. Shutting a heat maker in with its own steam is asking for trouble.
Cords cause half the mess this project fixes. Save those raceway, clip and sleeve tricks for the last few inches, never the whole run. For the cords that still have to leave the garage, our cord hiding guide walks through each option in plain terms.
Turn a Cabinet You Own Into a Garage
You may not need new cabinets at all. A stock upper cabinet, an orphan cabinet or a half cabinet can become a garage.
House Digest points to a clever workaround, slicing a standard cabinet in half and tipping it onto its side. When room permits, each half becomes its own little garage.
The finish should match the cabinets beside it, paint or stain. Trim the edges, and it reads built in, not bolted on.
Then choose whatever door type the spot itself calls for. In a tall opening, keep heavy gear low on a shelf.
Spare the cabinet with your everyday dishes; pick another one. Empty it and tape its outline, then choose a door.
See our builder-grade cabinet guide for trim, paint and hardware ideas. The same moves work on a garage built from scratch.
Split It by Job: Coffee, Baking and Prep
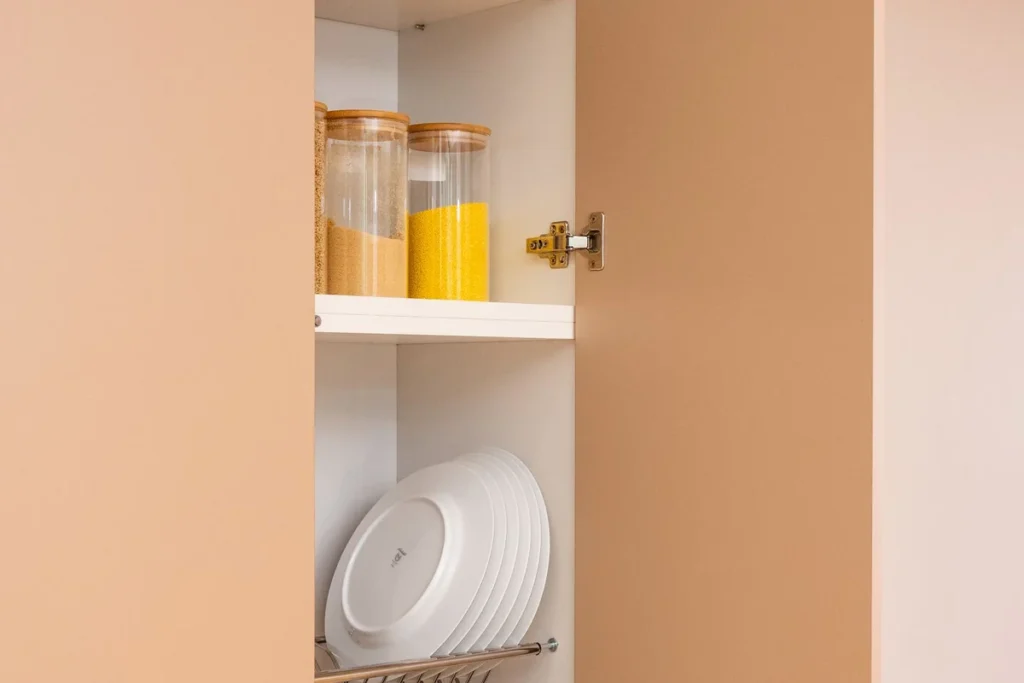
One garage for everything hides the tool you want. Split tools by the job they do. Coffee tools live near the sink and the mugs.
Baking tools live near the flour and the mixer spot. Prep tools live near the board and the sink. The best appliance garage ideas split tools by job, not by size.
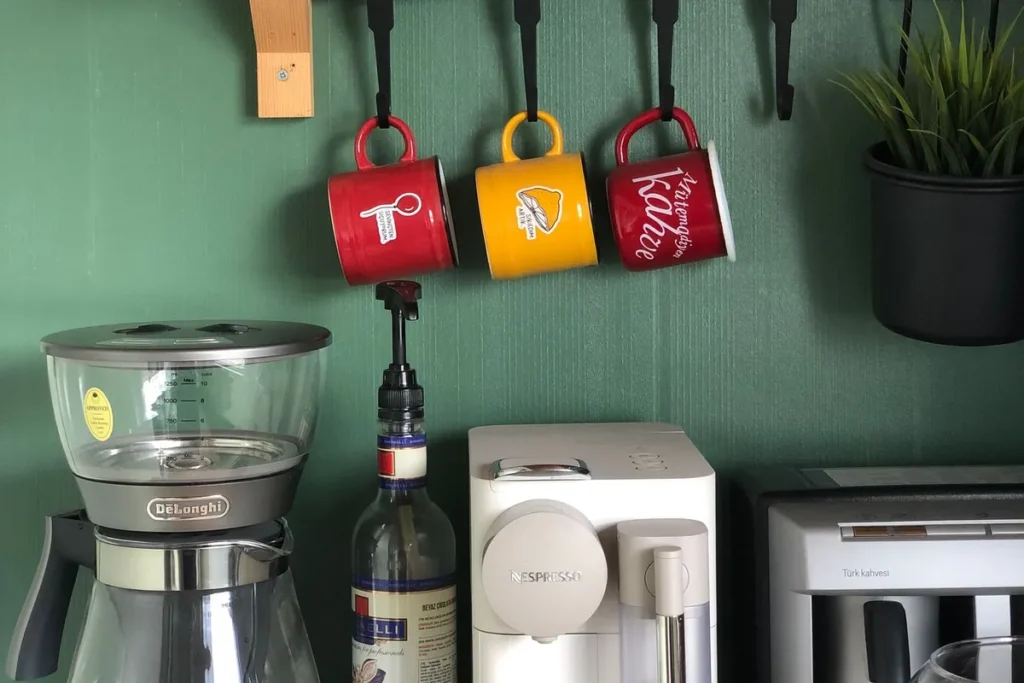
A coffee garage earns its keep first. One bay holds the espresso machine, grinder, kettle and mugs.
A drawer underneath holds the pods and filters. Close the doors, and the coffee bar, drips and all, vanishes.
Tight on space? Pair it with nearby food storage. In that pantry zone, flour stays by the mixer and beans by the grinder.
Borrow that zone logic for the garage run. Our walk-in pantry ideas place appliances on lower shelves and everyday food at eye level, a layout worth copying here.
Small Kitchens Gain the Most
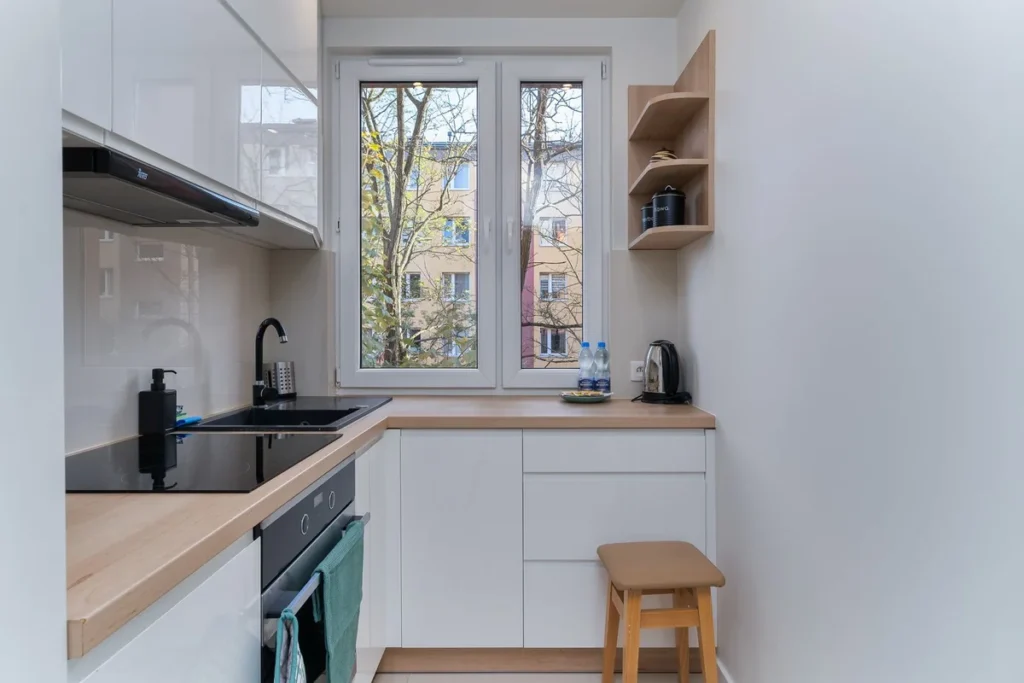
Small kitchens gain the most from this one change. The counter is the worktop, the landing zone and the serving spot. Every tool left out shrinks it.
One garage at the end of a run can clear it again. Tight rooms show why appliance garage ideas work: one pocket hands back the whole counter.
Put the garage where prep never happens. The end of a run works well. A spot under a window works when no upper cabinet fits there.
An island end works when it faces away from the cook. Keep it out of the sink, stove and fridge path.
Hold the line on size. One garage for two or three daily tools beats three small pockets. Daily tools stay inside.
Weekly tools go in a deep cabinet. A garage fixes the counter half of that problem. Our small kitchen layout mistakes guide explains how blocked paths and crowded counters make a room feel smaller.
What Stays Out
Not every gadget earns a spot behind that door. Tools you touch twice a year just eat prime real estate. Oversized tools break the height rule.
Heat makers want airflow, never a sealed box. Wet tools need time to dry before anyone shuts the door.
- Storing the turkey roaster you use twice a year.
- Stacking tools so the bottom one never comes out.
- Closing up a still-steaming air fryer.
- Skipping the drip tray beneath the coffee maker.
- Ordering the garage before taping the tallest tool.
Daily in, weekly away, yearly out, that is my rule. Once a tool stops being daily, move it out. Everything inside must keep earning its place.
Appliance Garage Ideas: Frequently Asked Questions
Five questions, answered short and straight. These are the appliance garage questions readers keep asking.
What is an appliance garage?
Think of a counter pocket with a door hiding the small tools. Because everything inside stays plugged in, breakfast starts without you lifting a single tool out.
Close the door and the counter reads clean. Coffee makers, toasters, blenders, mixers, those four fit it best.
What size should an appliance garage be?
Let your tallest tool set the size, never a standard box. I usually land in the 18 to 36 inches width range. I plan on 20 to 22 inches inside a 24 inch base.
I count on 15 to 17 inches clear under standard uppers. With lids open, I allow 2 inches of clearance.
Can I put an outlet inside an appliance garage?
Yes, because that one feature is the reason the whole idea works at all. Have a licensed electrician fit it, and confirm local code first.
Give each cord its own short path, and never overload a strip. One small grommet keeps the back panel neat.
Which door works best in a small kitchen?
In a tight kitchen, I pick tambour or lift-up. A tambour door slides into its frame, needing no swing room.
A lift-up door needs head room, but clears the full width. Hinged doors cost least yet need full swing room in front.
Can I add one without new cabinets?
Yes. A stock upper cabinet, an orphan cabinet or a half cabinet can become a garage. Cut a standard cabinet in half and turn it sideways for two garages.
Match its paint and trim, and it reads built in. Then fit the door the spot can live with.
Start With the Tallest Appliance
That is the whole plan, and it fits one cabinet run. Tape the tallest tool first.
Choose a door the spot can live with. Add power inside.
Split tools by job. Let the counter stay clear. Good appliance garage ideas hide the tools and keep the work.
Grab the tape measure tonight and start with the tallest tool. Then decide one thing at a time, and the counter stays yours.