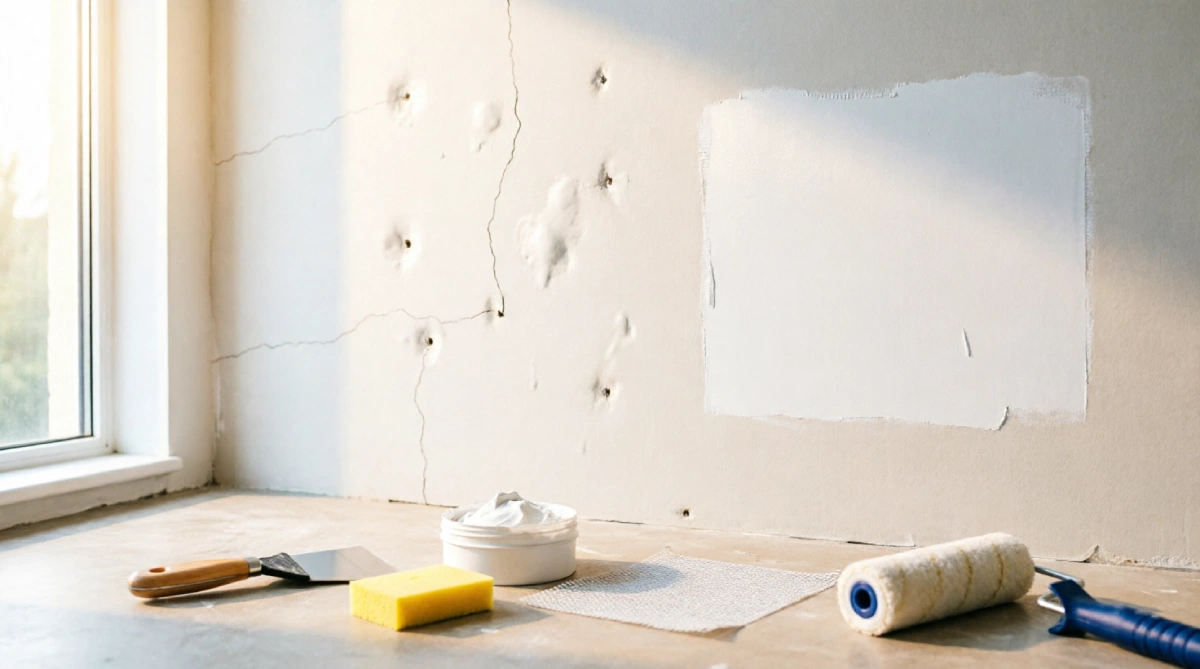
There is nothing more honest about freshly painted surfaces than the ability of new paint to show any defects. Those minor dents that you did not notice for months will become visible when you use the roller just above them.
A hairline crack near the ceiling will look as if there was a strike of lighting. Wall damage repair before painting is not a choice but the most important step towards professional results.
The great news is that repairing wall damage does not require professional experience or tools. You do not have to hire a contractor or make a renovation – in a couple of weekends you will be able to repair your wall damage and be ready for painting.
In this tutorial, we will consider 11 ways to fix wall damages that will give you a perfectly clean wall surface that is ready for painting.
Here is our list of 11 wall damage fixes before painting that will help you achieve the best result.
Never Bypass Wall Prep Work
Covering up wall imperfections with paint only serves to accentuate them, as paint tends to reflect light in different ways depending on the condition of the surface. Paint also lasts longer when the wall beneath has been properly prepared, which improves its overall appearance.
Remember, paint can be compared to clothing while the wall represents the body. If the latter isn’t in good shape, nothing can be done about it.
Step 1: Examine the Wall Without Doing Any Damage Yet
Before reaching for any tools, make sure to examine your walls in well-lit conditions (preferably under natural light or an extremely bright working lamp). In many cases, damage will be easier to spot from an angle rather than looking directly at the wall.
Here is what you need to find:
- Nail holes and screw holes
- Small hairline cracks
- Dents from furniture or doorknobs
- Scratches and scuff marks
- Peeling or flaking paint
- Water stains or discoloration
- Loose or bubbling drywall tape
- Larger holes or chunks of missing drywall
Knowing the kind of damage that you have can help you pick a proper solution rather than waste time and materials on the wrong approach. If there are any signs of moisture in the air, soft and spongy drywall, and/or a musty odor fix the problem first. Repainting never solves moisture issues.
11 Brilliant Wall Damage Repair Before Painting Fixes for a Flawless Finish
Fix 1: Filling Nail Holes and Screw Holes
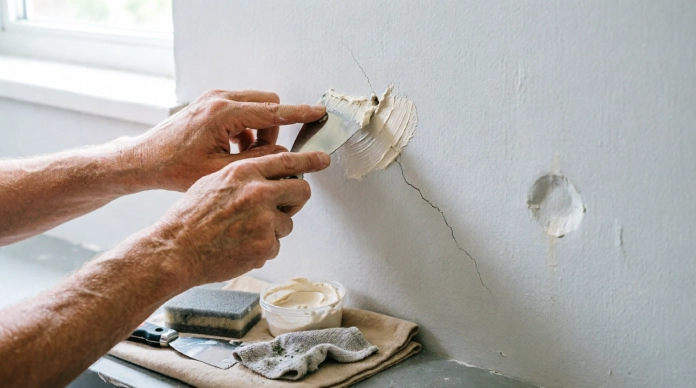
The most common form of damage is nail holes, which are also the easiest to fix.
- Clean out any loose debris around the hole
- Apply a small amount of lightweight spackle with a putty knife
- Let it dry fully (check the product label for time)
- Lightly sand until smooth
- Wipe away dust with a damp cloth before painting
A quick and easy drywall repair that makes a huge visual difference.
Fix 2: Crack Repair
Cracks vary in nature and cause. While hairline cracks can be purely cosmetic, wider cracks can indicate movement of the wall.
- Clean the crack of dust and loose material
- Apply a suitable crack filler or joint compound
- Let it dry completely
- Sand the area smooth once dry
Direct paint over the crack without fixing it will always cause the crack to appear again, sometimes even more obvious than it was before.
Fix 3: Repair Small Dents or Gouges
Holes do happen. They can be caused by anything from moving a piece of furniture to door handles to bumps and accidents.
- Remove any loose or crumbling material
- Apply spackle or joint compound
- Feather the edges outward so the patch blends into the wall
- Sand until the surface feels seamless to the touch
Fix 4: Repair Large Holes
Whenever there is a hole too large for spackling to work, you need a patch.
- Clean and square off the damaged edges if needed
- Apply a self adhesive mesh patch or drywall patch
- Cover with joint compound
- Let it dry, then sand
- Apply a second thin coat if the surface still looks uneven
Fix 5: Repair Large Holes in Drywall
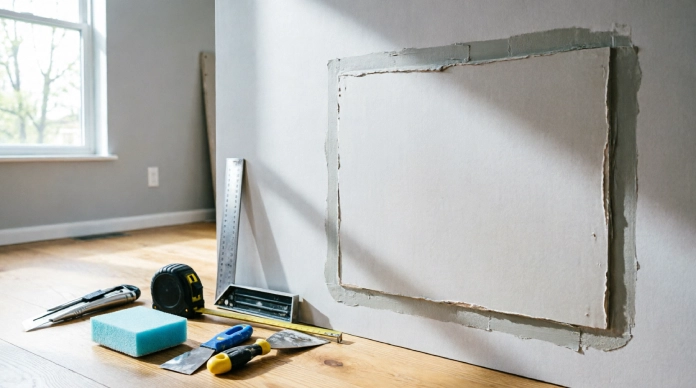
Large holes require you to remove the damaged part.
- Measure and cut a replacement piece of drywall
- Secure it in place
- Cover the seams with joint tape and compound
- Sand between coats for a flush finish
If the hole shows that there are some problems with wires, insulation, and other things that you might not be able to handle yourself, better hire a professional.
Fix 6: Strip Any Peeling Or Flaking Paints
The application of paint on top of peeling paints is among the quickest ways to spoil new coats.
- Carefully scrape away all loose or flaking paint
- Sand rough edges until smooth
- Apply primer where bare drywall is exposed
- Make sure the surface is clean and fully dry before repainting
If the wall also has old wallpaper or stubborn adhesive, check our guide on how to remove wallpaper before repairing and painting the surface.
Fix 7: Fill In Scratches And Scrapes
As minor as the scratches may be, they have the potential of catching light and becoming apparent when painted over.
- Clean the area first
- Lightly sand rough marks
- Use a small amount of spackle for deeper scratches
- Feather and sand the repaired spot
Fix 8: Fix Walls That Have Water Damage
Water damage is a symptom and not the cause. The act of covering the affected surfaces by applying a coat of paint is temporary. The U.S. Environmental Protection Agency’s guidance on mold, moisture, and home maintenance recommends fixing the moisture source and drying water-damaged areas before painting.
- Find and repair the source of the moisture first
- Look for bubbling paint, soft drywall, or yellow and brown stains
- Check for any mold or mildew growth
- Replace badly damaged drywall sections if needed
- Let the area dry completely
- Use a stain blocking primer before painting
Fix 9: Fix Damaged or Loosely Adhered Drywall Tape or Seams
If you notice bubbling, peeling, and any signs of loose tape, then it is important to fix this problem prior to painting.
- Remove the damaged tape carefully
- Apply new drywall tape
- Cover with a smooth layer of joint compound
- Feather the edges and sand once fully dry
When seams are improperly repaired, they will stand out at particular angles when painted with satin or semi gloss paint.
Fix 10: Resolve Moisture Problems Prior to Painting
Do not ever paint over any mold that exists. This problem must be addressed first.
- Identify and fix the moisture source causing the mold
- Clean minor surface mildew with an appropriate cleaner
- Allow the wall to dry thoroughly
- Replace porous materials that are heavily affected
- Call in a professional for extensive or recurring mold issues
Fix 11: Sand, Prime and Produce a Smooth Surface
This is the final step that will bring everything together.
- Use the right grit sandpaper for repaired areas
- Remove all sanding dust with a cloth or vacuum
- Apply primer to every repaired spot
- For larger repairs, consider priming the whole wall for even absorption
- Check the wall from different angles under good lighting before painting
If it is a large repair job, prime the entire wall for uniform absorption
Inspect the wall under good light conditions from various angles prior to painting.
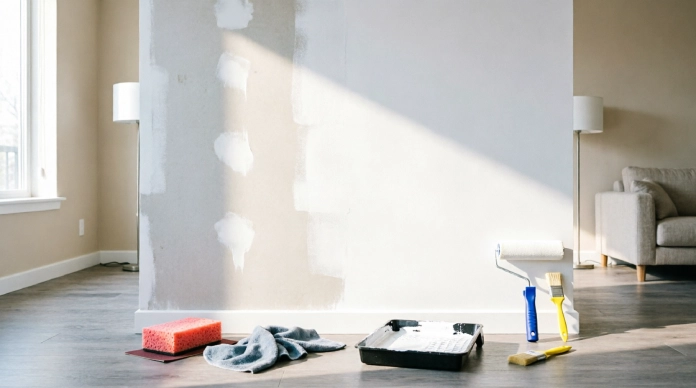
How to Prepare Walls for Painting After Repairs
Once all your fixes are done, follow this quick checklist before opening that paint can:
| Step | Task |
|---|---|
| 1 | Remove loose or flaking paint |
| 2 | Fill holes and cracks |
| 3 | Repair dents and larger damage |
| 4 | Sand all repaired areas |
| 5 | Clean wall dust and debris |
| 6 | Wash the wall if needed |
| 7 | Let the surface dry completely |
| 8 | Apply primer |
| 9 | Inspect the wall again |
| 10 | Start painting |
The golden rule: your wall should be clean, dry, smooth, and properly primed before the first coat goes on.
Tools and Materials You May Need
| Category | Items |
|---|---|
| Filling and Patching | Lightweight spackle, joint compound, drywall patch, drywall tape |
| Application Tools | Putty knife, utility knife |
| Smoothing | Sandpaper or sanding sponge |
| Cleaning | Cleaning cloth, paint scraper |
| Finishing | Primer |
| Safety | Protective gloves and dust mask |
Having these on hand before you start saves multiple trips back and forth to the hardware store.
Common Wall Repair Mistakes to Avoid
Even careful DIYers fall into these traps:
- Painting directly over holes or cracks
- Applying too much joint compound at once
- Skipping sanding entirely
- Leaving sanding dust on the wall before priming
- Ignoring water damage instead of treating the source
- Painting over mold or mildew
- Skipping primer on repaired spots
- Rushing before filler or primer has fully dried
- Using the wrong repair product for the size of the damage
Avoiding these mistakes alone can dramatically improve how your final paint job turns out.
When Should You Call a Professional?
Most cosmetic wall damage is completely DIY friendly. However, it is worth bringing in a professional for:
- Extensive or repeated water damage
- Large areas of damaged drywall
- Cracks that keep coming back
- Cracks that look structural rather than cosmetic
- Widespread mold growth
- Major ceiling or wall damage
- Any damage connected to electrical or plumbing lines
There is no shame in calling in help for the bigger stuff. It often saves time and money in the long run.
Final Wall Inspection Before Painting
Before you dip that roller, ask yourself:
- Is the wall smooth to the touch?
- Are all holes filled?
- Are cracks fully repaired?
- Has peeling paint been removed?
- Is the wall clean and dust free?
- Is it completely dry?
- Has every repaired area been primed?
- Can you see any obvious patches under normal lighting?
If you answered yes across the board, your wall is ready for paint.
FAQ on Repairing Wall Damage Prior to Painting
1. Can I apply paint on my wall right after repairing it?
It’s not advised. Any holes, cracks, peeled paints, and any imperfections will be clearly seen through the paint layer when using natural light. It will improve your results significantly if you repair it first.
2. What’s the best product for filling cracks on the wall prior to painting?
Use flexible crack filler for hairline cracks and joint compound or spackle for slightly larger cracks.
3. Do I have to sand walls after I fix them?
Yes, you should. This process allows the repaired area to look as seamless as possible when applying paint over it.
4. Should I primer my wall after I repair it?
Absolutely, you have to. The reason is that repaired areas absorb paint in a different way from the rest of the wall surface and can cause an effect called flashing.
5. How long does one need to wait after repairing walls before painting?
The waiting period will depend on the type of product, thickness of its application, and humidity in the room. It is always best to read the instructions provided by the manufacturer, because premature painting could lock moisture beneath the surface.
Conclusion
A perfect paint job takes place much earlier than the actual application of paint. Wall damage repair before painting requires proper preparation to ensure a flawless finish and lasting durability.
Whether it’s a small nail hole, a stubborn crack, or a large patch of water damage, these 11 tips will help you prepare your walls for a smooth, professional-looking paint job.
To find more home renovation tips, please visit OliviHome.