Table of Contents
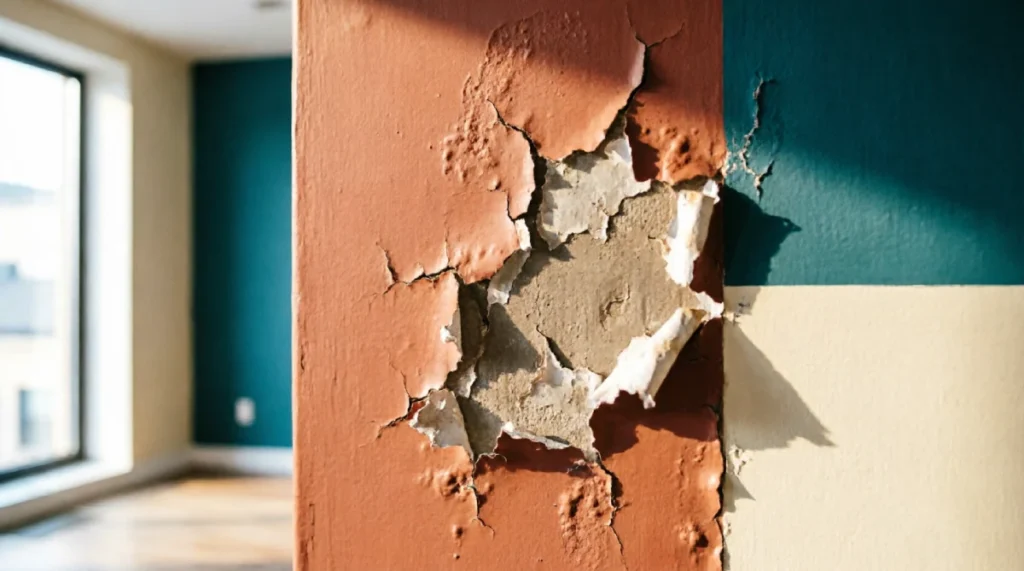
You walk into a room you love, but a few details immediately catch your attention. Paint is peeling off the wall, flakes are scattered across the floor, and an uneven patch has appeared where the surface used to look smooth. It can be frustrating and quickly spoil the appearance of the entire space.
One common mistake people make is simply painting over peeling paint. Unfortunately, the new coat will likely peel again because the underlying problem has not been fixed. The proper solution is to remove all loose paint, smooth the surface, repair any damage, apply primer, and then repaint.
If you’re wondering how to fix peeling paint, the good news is that most small to medium-sized areas can be repaired yourself. You don’t need special skills, but you do need the right tools, proper preparation, and a little patience.
In this guide, we’ll explain why paint peels, what tools you’ll need, and the five simple steps to fix peeling paint and create a smooth, long-lasting finish.
Why is my Paint Peeling?
To fix any problem, you need to understand what caused it. Paint peels for a good reason, and if you don’t consider it, you’ll have to fix it again in a few months.
Water Damage and Moisture
Moisture is the main culprit in any problem with your paint. Whether you have a water leakage somewhere behind the walls, steam coming from a shower, boiling water in your kitchen, or condensation on a cold surface, the wall will become moist and the paint will be unable to stick to the surface and start to peel off.
Kitchens, bathrooms, basements, and ceilings above bathrooms or roofs are the places where paint peeling usually occurs because of moisture.
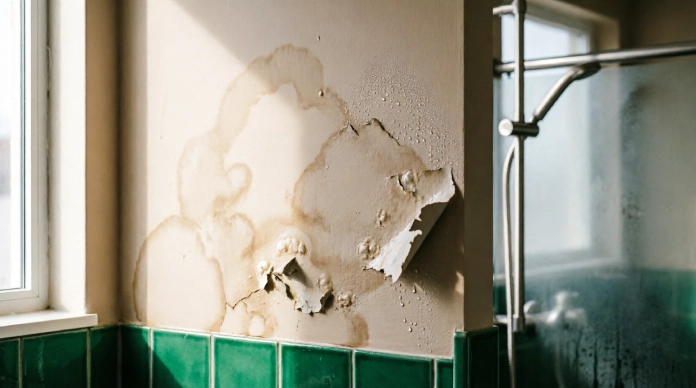
Surface preparation is poor
This is one of the most common causes of peeling. When paint is applied to dust, grease, or dirt, or when the old paint is still peeling, grease and dirt, not using primer, and applying another coat before the previous coat dries, paint cannot stick effectively.
The paint adhesion requires a surface to be cleaned and ready.
Bad or old paint
The paint does not last forever. It becomes hard and inflexible as time passes by. When you have walls painted with several layers of old paint, the layers at the bottom might become weak and pull up other layers. Poor quality paint may also have weaker adhesion and will peel sooner than other paints.
Mismatched Paint or Improper Application
There could be a problem with mismatching paints. Using latex paint on an oil-based surface without proper preparation is one common error. Using paint when the temperature is too high, too low, or too humid will prevent the paint from drying properly and bonding with the wall.
Why Does the Paint Peel Off the Wall? In most cases, peeling paint on walls can be attributed to moisture, a dirty or improperly prepared wall, old paint, and/or improper paint used.
What Tools Do You Need to Fix Peeling Paint?
First thing to do is get ready with all the necessary tools so you don’t need to go shopping midway. Here’s the list:
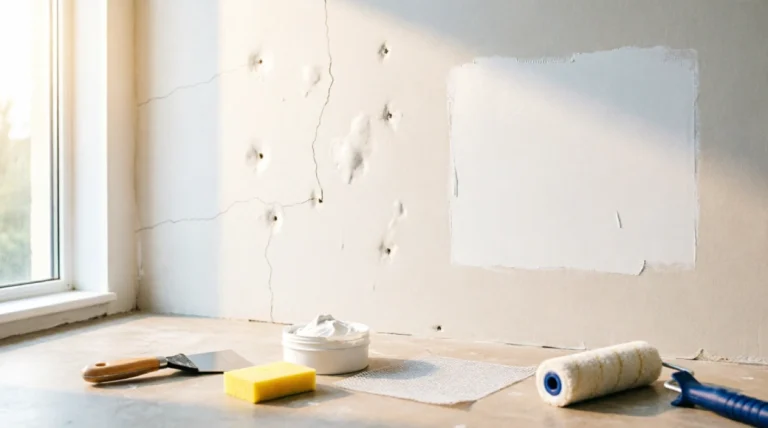
- Paint scraper
- Putty knife
- Medium-grit sandpaper
- Fine-grit sandpaper
- Spackle or patching compound
- Damp cloth
- Primer
- Matching paint
- Paintbrush
- Paint roller
- Drop cloth
- Painter’s tape
- Safety glasses
- Dust mask
Goggles and a dust mask are even more important than you think. Sanding and scraping cause small particles to go airborne. These should not get in your eyes and lungs.
Quick safety tip: If your house was built before 1978, the paint might contain lead paint . In such a situation, first test the paint for the presence of lead before scraping or sanding.
Should You Strip All the Paint off?
No, you shouldn’t. You only have to scrape the paint that flakes, bubbles, or peels off. After that, feather the edges. Feathering is just sanding the edges so that the repaired area matches the surrounding painted area.
But if the peeling covers large areas, you should investigate the underlying reasons. More about this in Step 1.
How to Fix Peeling Paint in 5 Simple Steps
Here are the steps to follow. Just make sure you stick to them.
Step 1: Detect and Address the Root of the Problem
Forget the paint, for now. Get ready to play detective.
Detect water marks, discoloration to yellow or brown colour, or bubbles and blisters. Examine for leaks above the wall, around sink area or in windows. Place your hand on the wall. Is it cool or damp? Have a careful look at bathrooms and kitchen walls.
If there is moisture, deal with this problem first. Fix the leak, increase ventilation, or use a dehumidifier until the wall is totally dry. That is what people miss out on, and this is why their efforts usually end in failure.
Key Point: If the leak or moisture is the root cause of peeling, simply patching up the paint will not be enough. Dry out the wall and fix the moisture problem before doing anything else.
Step 2: Scrape Away Loose and Peeling Paint
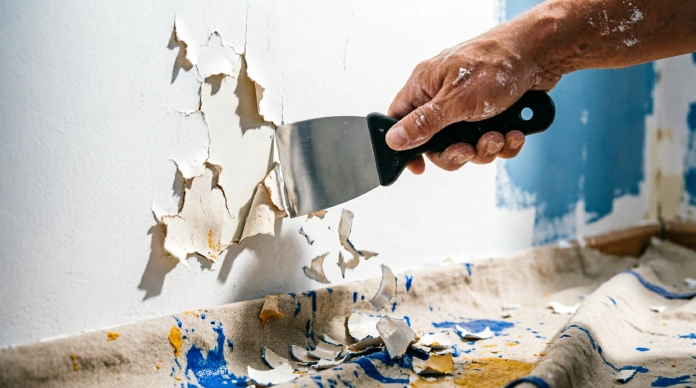
Once the cause is handled, it’s time to remove the damaged paint.
- Lay a drop cloth on the floor to catch flakes.
- Put on your safety glasses and dust mask.
- Hold a putty knife or paint scraper at a low angle.
- Gently scrape away the loose paint.
- Keep going until you reach paint that is firmly attached.
Take it easy! It is important not to gouge through the drywall or plaster as you remove the paint.
Tip: Do not think that scraping is over once the paint starts looking decent. Feel the area with your fingers for any loose edges that you could have overlooked. Scraping should continue until even light pressure raises a corner of paint from the wall.
Step 3: Sand the Wall and Smooth Out the Area
Once the paint has been scraped off, there will be rough, irregular edges where the paint ends.
Use medium-grit sandpaper to get rid of the most severe ridges. Afterwards, use fine-grit sandpaper to give the surface a smooth finish. Pay attention to the edges between the bare part and the painted part of the wall. They need to be softened rather than being abrupt.
Wipe down the wall after sanding is complete with a damp but slightly damp cloth and allow it to air dry.
So, how smooth is “smooth enough”? The repaired spot should feel barely noticeable under the fingertips.
Step 4: Patch, Prime, and Seal the Surface
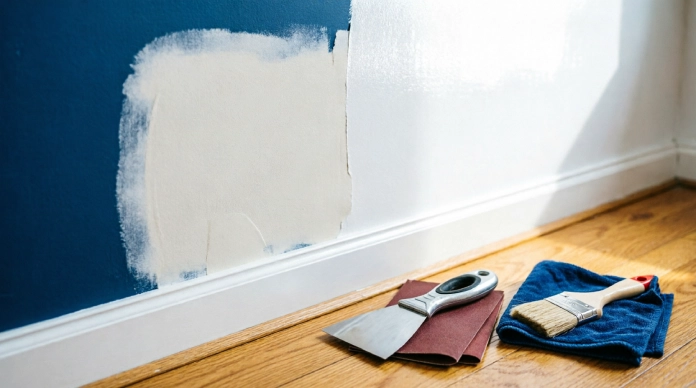
This step will make your repair look professional.
Patch damage: Check for dents, cracks, and small dips in the surface, and fill them with spackle or patching compound using your putty knife. Allow it to dry, then sand it smooth. You may require two layers for large imperfections.
Apply primer: Don’t skip this step! This is the substance that will help the paint adhere to the surface. It increases paint adhesion, seals porous areas, provides you with even surface, and improves paint coverage. Also, primer reduces the chances of future peeling.
Select the proper primer: The latex primer will suit most interior walls. Stain-blocking primer is recommended if you have any stains, as they will not come through. Moisture resistant primer sealer is suitable for bathrooms or other rooms prone to dampness.
Allow the primer to dry as stated on its label before painting.
Step 5: Repaint the Wall Like a Pro
You’re almost done. A little care here gives you that smooth, even look.
- Match your existing paint colour as closely as you can.
- Stir the paint well so the colour and finish stay consistent.
- Don’t overload your brush or roller.
- Apply thin, even coats.
- Let each coat dry as the manufacturer suggests.
- Add a second coat if you need one.
- Remove painter’s tape slowly once the paint is touch-dry.
It’s always better to have a thin coat than a thick one. The drying process is slower for a thick coat, and there’s a chance that it will crack or peel after some time.
Tip: Do not paint under extreme weather conditions; the ideal painting conditions are mild and dry weather.
Steps to Repair Peeling Paint without Repainting the Entire Wall
It’s really good news for everyone who doesn’t like the idea of repainting an entire room. There are times when it works perfectly. It works perfectly when:
- The peeling area is small and isolated
- You have matching paint on hand
- The surrounding paint is still firmly attached
- There’s no ongoing moisture problem
Follow the same five steps, just on a smaller scale. Blend the edges well when you repaint so the patch doesn’t stand out.
When You Should Repaint the Entire Wall
Spot repairs can look patchy if the damage is bigger. Think about repainting the whole wall when:
- Large sections are peeling
- Several layers of paint are failing
- The colour mismatch is easy to see
- The peeling keeps coming back
- There’s widespread water damage
A full wall gives you a clean, even finish, and it’s often easier than trying to hide a dozen small patches.
How to Remove Peeling Paint from Various Walls
Different walls require different techniques. Here are a few tips for popular surfaces.
Drywall
Try not to scratch too hard because damaging the paper layer will force you to patch and prime the surface before painting. Remember to always prime the drywall if it got damaged in any way, as bare paper is very porous.
Plaster Walls
Before you do anything else, check for any cracks and damaged plaster. First, fix the underlying surface, then prime and paint it. Painting the damaged plaster leads to peeling very quickly.
Bathroom Walls
The major problem here is moisture. Consider fixing the ventilation system and turning the exhaust fan on while and after showering. Also, try using special bathroom paint that resists humidity and mildew. If moisture problems keep returning, a thorough bathroom renovation may be needed to address the underlying issue.
Kitchen Walls
Oil or food remnants cause the issue. Wash the surface with a degreaser, let it dry, and then prime. Paint does not adhere to an oily surface. Regular cleaning can also help prevent buildup, and these kitchen cleaning hacks can make the job easier.
Ceiling
Inspect for any leak in the roof or plumbing system prior to repairing the peeling ceiling. In case of leakage, address that first. Eye protection is necessary because the debris falls directly into the eyes.
7 Common Mistakes That Make Paint Peel Again
Even careful DIYers slip up. Watch out for these.
1. Painting directly over peeling paint. New paint can’t hold onto a weak base. Always scrape off the loose paint first.
2. Skipping primer. Primer is the glue between the wall and your paint. Use it on every repaired area.
3. Ignoring moisture. If the wall is damp, the new paint will fail. Find the source and fix it before repainting.
4. Not cleaning the wall. Dust, grease, and grime block adhesion. Wipe the surface down and let it dry.
5. Skipping sanding. Rough edges show through the new paint. Sand until the repair blends in.
6. Applying thick coats. Thick paint dries unevenly and can crack. Go with thin, even layers.
7. Repainting before the surface is dry. Trapped moisture causes bubbles and peeling. Give patching compound, primer, and each coat plenty of time.
How to Prevent Paint From Peeling Again
A little upkeep goes a long way. Use this checklist to stop paint from peeling in the future:
- Fix leaks quickly
- Improve ventilation in bathrooms and kitchens
- Control high humidity with a fan or dehumidifier
- Clean walls before painting
- Remove all loose paint completely
- Always prime repaired areas
- Choose paint that suits the room
- Allow enough drying time
- Never paint over a damp surface
- Follow the manufacturer’s directions
Most peeling problems come from skipped prep. If you take your time at the start, the finish will last much longer.
When Should You Call a Professional?
DIY works great for many repairs, but it isn’t always the best choice. It’s smart to call a pro when:
- Peeling covers a large part of the wall
- There’s major water damage
- You see mold or constant dampness
- The plaster or drywall is badly damaged
- Paint keeps peeling after several repairs
- You can’t figure out the underlying cause
A professional can track down hidden leaks, deal with mold safely, and repair damaged walls properly. Paying for help early can save you money later.
FAQs on Repairing Peeling Paint
Can I paint over peeling paint?
No. You will not be able to apply paint to an unsecure surface; it will peel again. The solution is to scrape off the peeling paint, sand the edges, prime, and repaint.
How do I go about repairing my peeling paint?
To effectively repair peeling paint, you must first determine the cause of the peeling and eliminate it, scrape off the peeling paint, sand, prime and paint the area with thin coats.
Should I sand the peeling paint before painting over it?
Yes. Sanding prepares the edges for the repairs and makes the repair area match the rest of the wall.
Do I have to apply primer once I have stripped off peeling paint?
Yes, you do. A primer promotes adhesion, seals the surface, and helps your top coat become even. This process is crucial when it comes to your entire project.
What can cause peeling on my freshly painted wall?
This problem may occur due to moisture, dirty surface, lack of primer, or thick application of paint. First, you should check if there is any moisture.
Final Words
To learn how to fix peeling paint, you do not need to apply extra layers over the damaged area. Instead, find the underlying problem, remove the old paint, patch any damage, apply primer, and repaint the area properly.
Spending some time on preparation is worth it because a smooth, clean, and completely dry surface helps your new paint adhere better and last longer.
For more practical home improvement ideas and solutions, visit OliviHome.